Homemade Sourdough Farmhouse White Bread Loaf
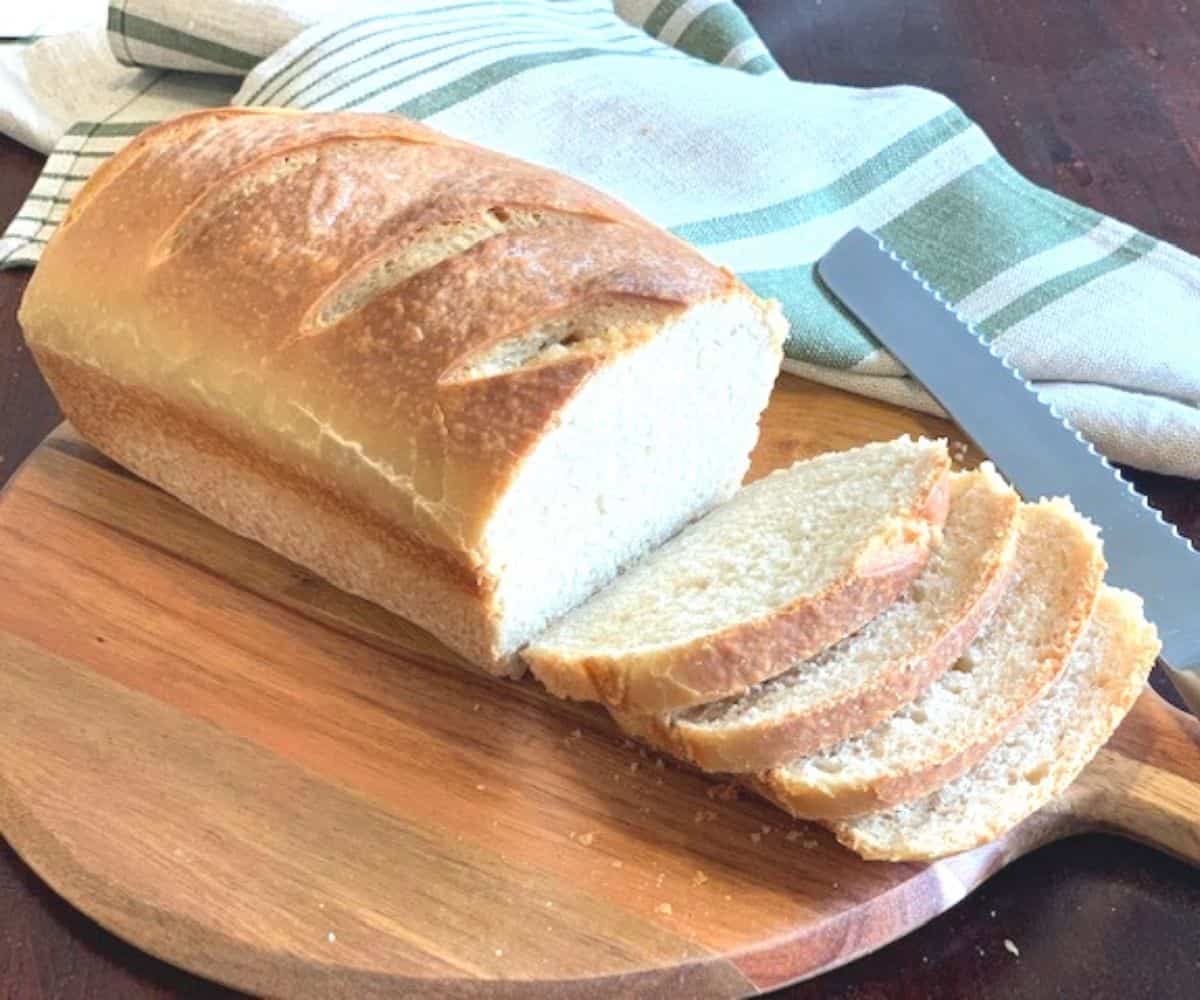
This delicious farmhouse white bread recipe is made with a sourdough starter. Hands on time to make this bread is only 20 minutes, but the longer rise times may require a little planning ahead! Its tangy flavor and fluffy light interior make for it perfect for your everyday loaf. You can make sandwiches, toast, or enjoy it on its own with a little butter.
(As an Amazon Associate I earn from qualifying purchases. This means that if you purchase an item via a link on my website I earn a small commission at no extra cost to you.)
This recipe makes enough dough for three small 8 inch loaves, or 2 larger 9 inch loaves. I like to make three loaves because I don’t have to bake quite as often! The two 9 inch loaves, however, fit the traditional description of “farmhouse loaf” a little better. If I’m making a loaf for a special occasion or to take to a friend, I’ll splurge and make the big ones. 🙂
Notes on Recipe Method
I start by mixing all the ingredients together by hand in a large mixing bowl. Kneading by hand is great, but if you have a stand mixer, you can knead the dough with the dough hook. I recommend that unless you have a larger commercial stand mixer, you halve the recipe and make one loaf at a time if you plan to knead it in the mixer.
Mine had a lot of trouble handling this volume of dough. When I run short of time and need to multitask a bit, however, I split the dough and use the mixer to knead one half at a time. That works too!
I knead the dough for about fifteen to twenty minutes by hand until it passes the window pane test. (Take a small handful of dough and stretch it out – if it breaks right away it’s not ready. If it stretches and becomes translucent, it’s ready.) It’s easy to under-knead this dough, so don’t be afraid to just keep going and make sure it’s real stretchy.
If you’re kneading on a mixer, check the dough every few minutes to make sure it doesn’t get overworked. I find that when I use the mixer it takes at least 10 minutes.
When you’ve finished kneading, place the dough in a large lightly greased mixing bowl. Cover it with plastic wrap or bees wax wrap to keep airtight. The dough WILL develop a tough skin during this first rise if you don’t cover it well. (Ask me how I know.)
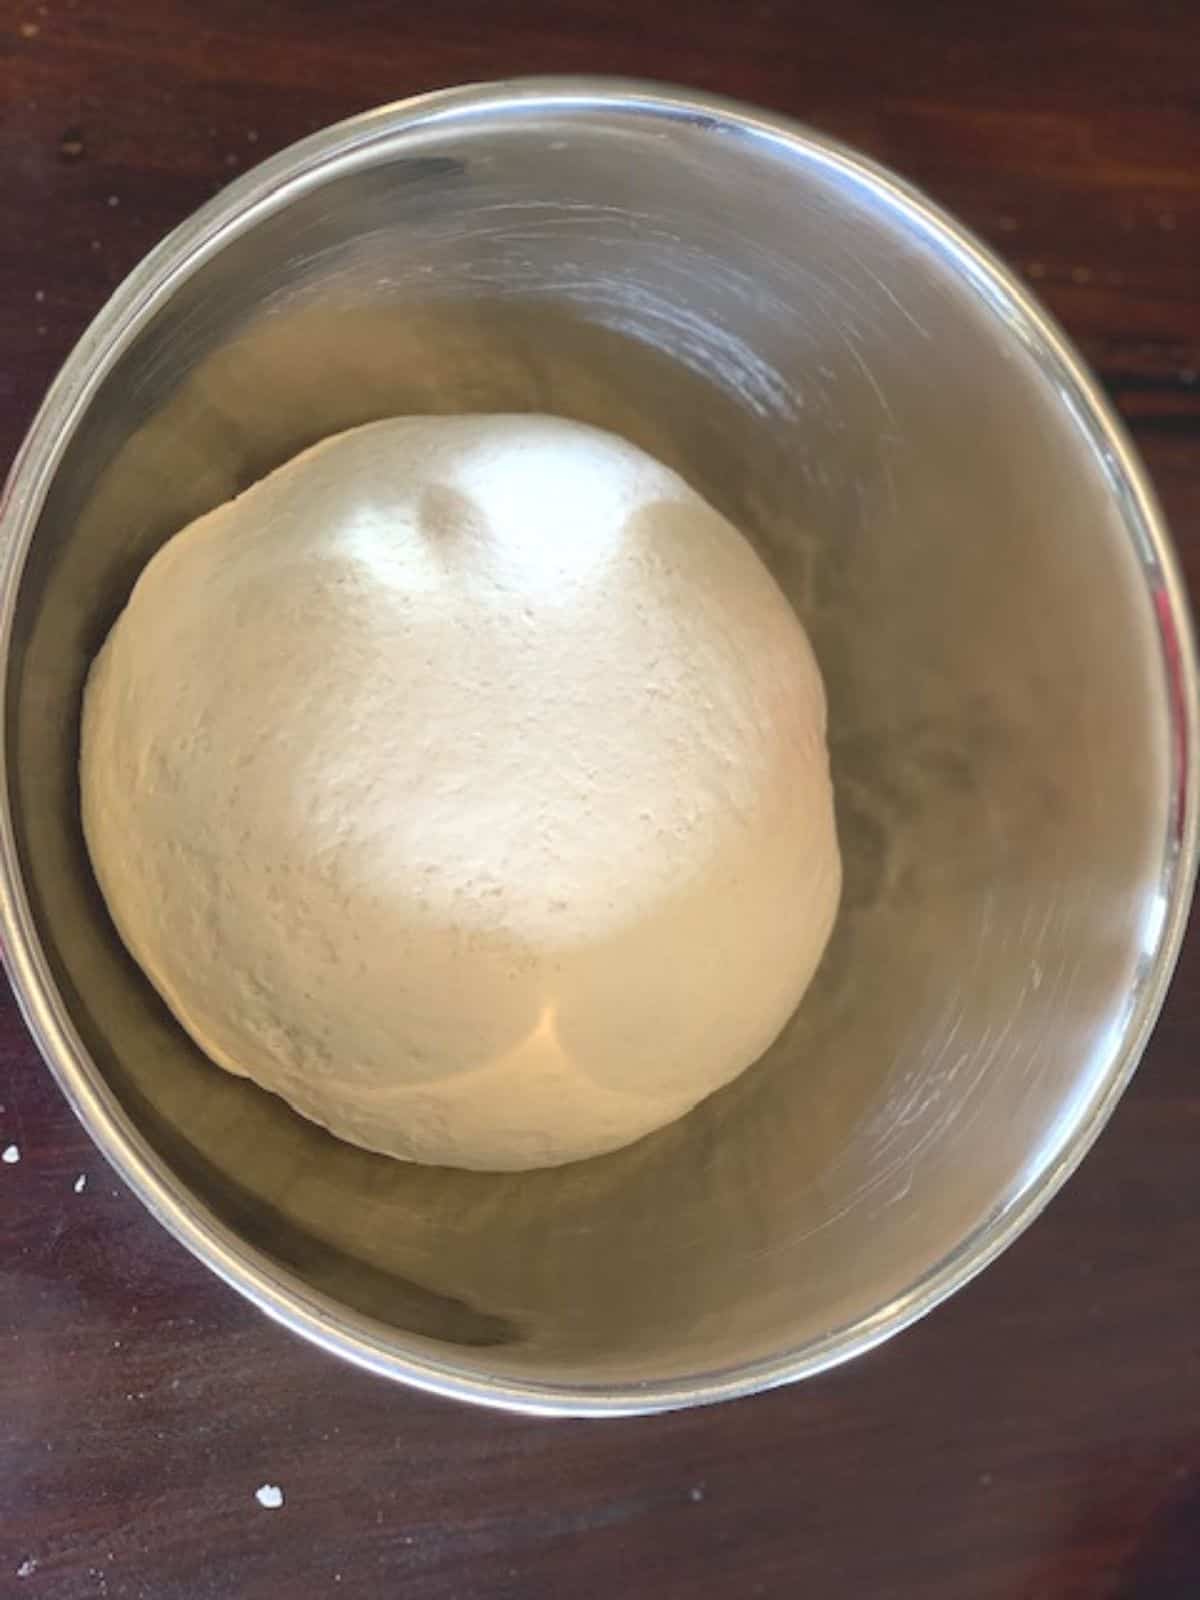
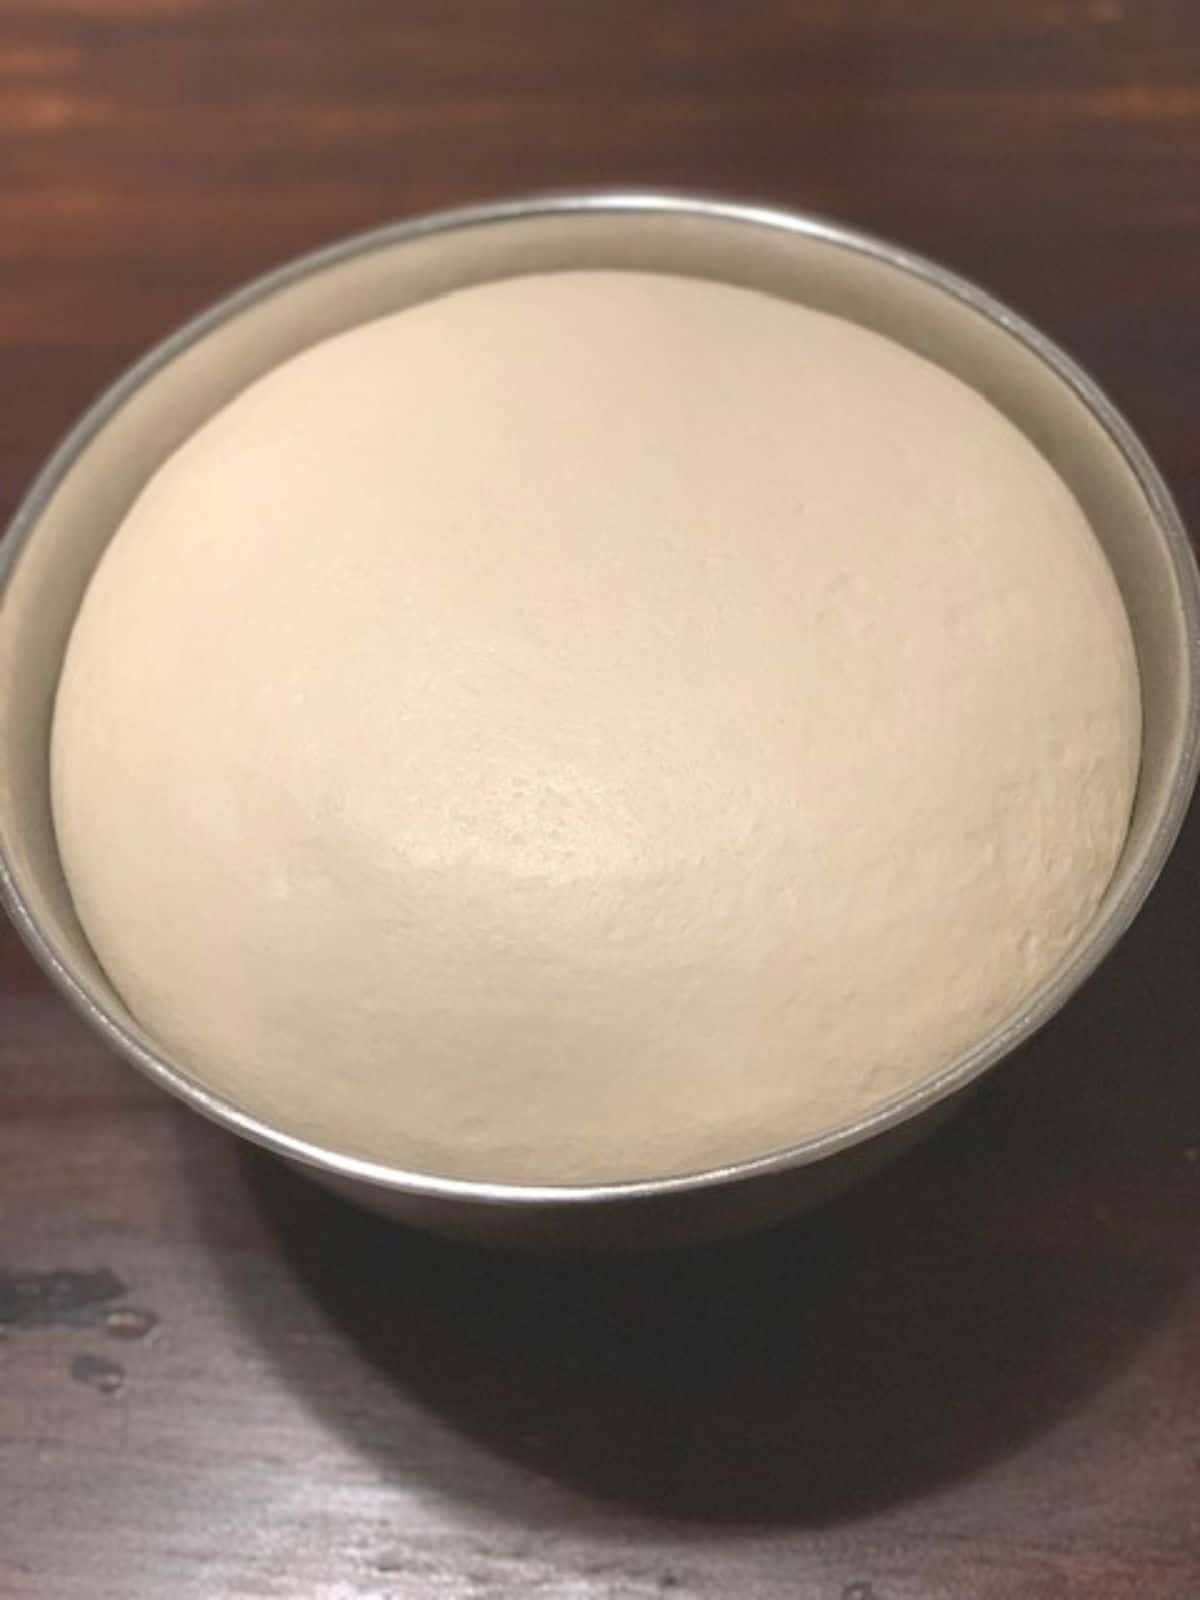
I usually mix the dough either first thing in the morning or right before bedtime. That way the dough can rise for about 12 hours. I keep an eye on it, however – the dough doesn’t need to rise much more than twice its original size.
The timing will depend on how warm it is. I don’t need to let it rise as long in the summer as I do in the winter. I actually have a little more trouble with the timing in the summer because it often only takes about 8 hours to rise. When that happens, I often use the fridge to help accommodate my schedule to sort of press “pause” on the rise time. When it’s finished it looks about like this:
I weigh my dough and divide it into three equal parts, roll each into a rectangle roughly the width of my pan, and roll each loaf up lengthwise. (Take note, too, my dough tends to be a little stiffer in the winter, and a bit looser and stickier in the summer. I don’t add flour in the summer because I don’t want the bread to end up dry or tough. I just have more fun trying to wrestle the dough into the bread pan.)
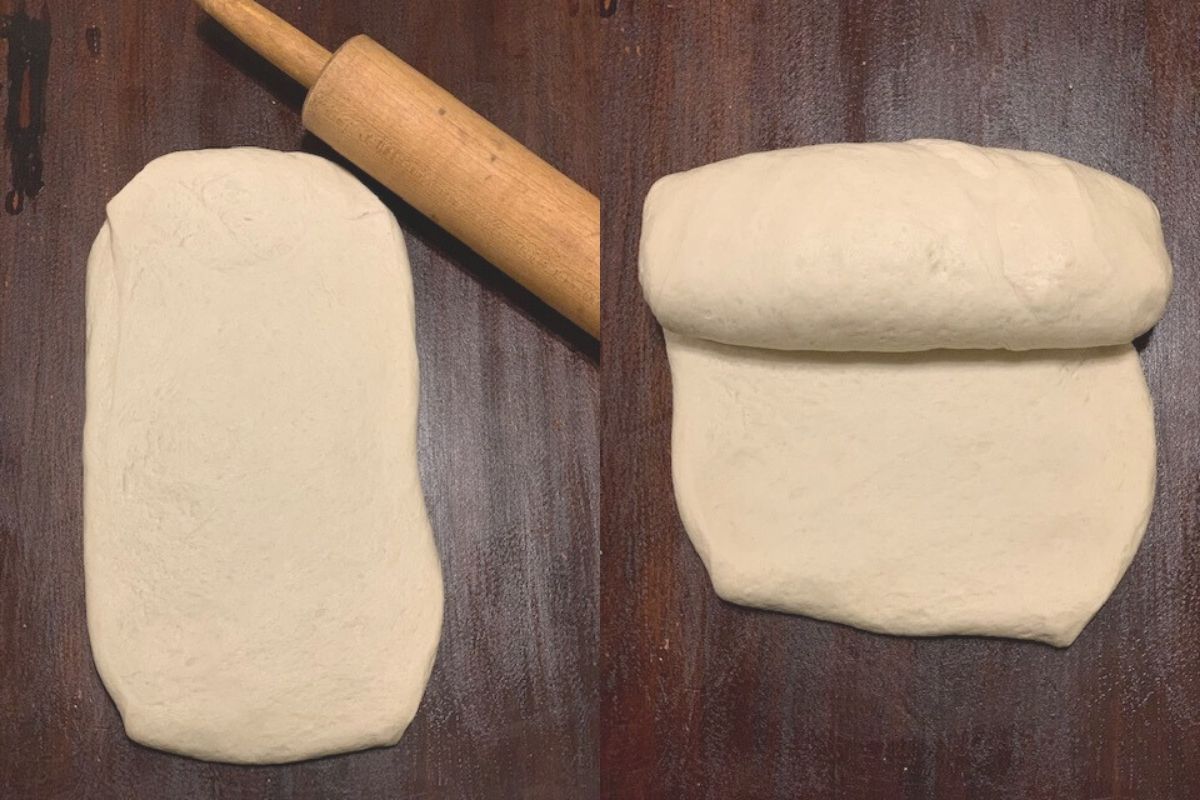
You can see in the photo below how my loaves change in size and shape. Cover the loaf pans with plastic wrap or bees wax wrap and let them rise for another 3-4 hours. Allow them to double in size.
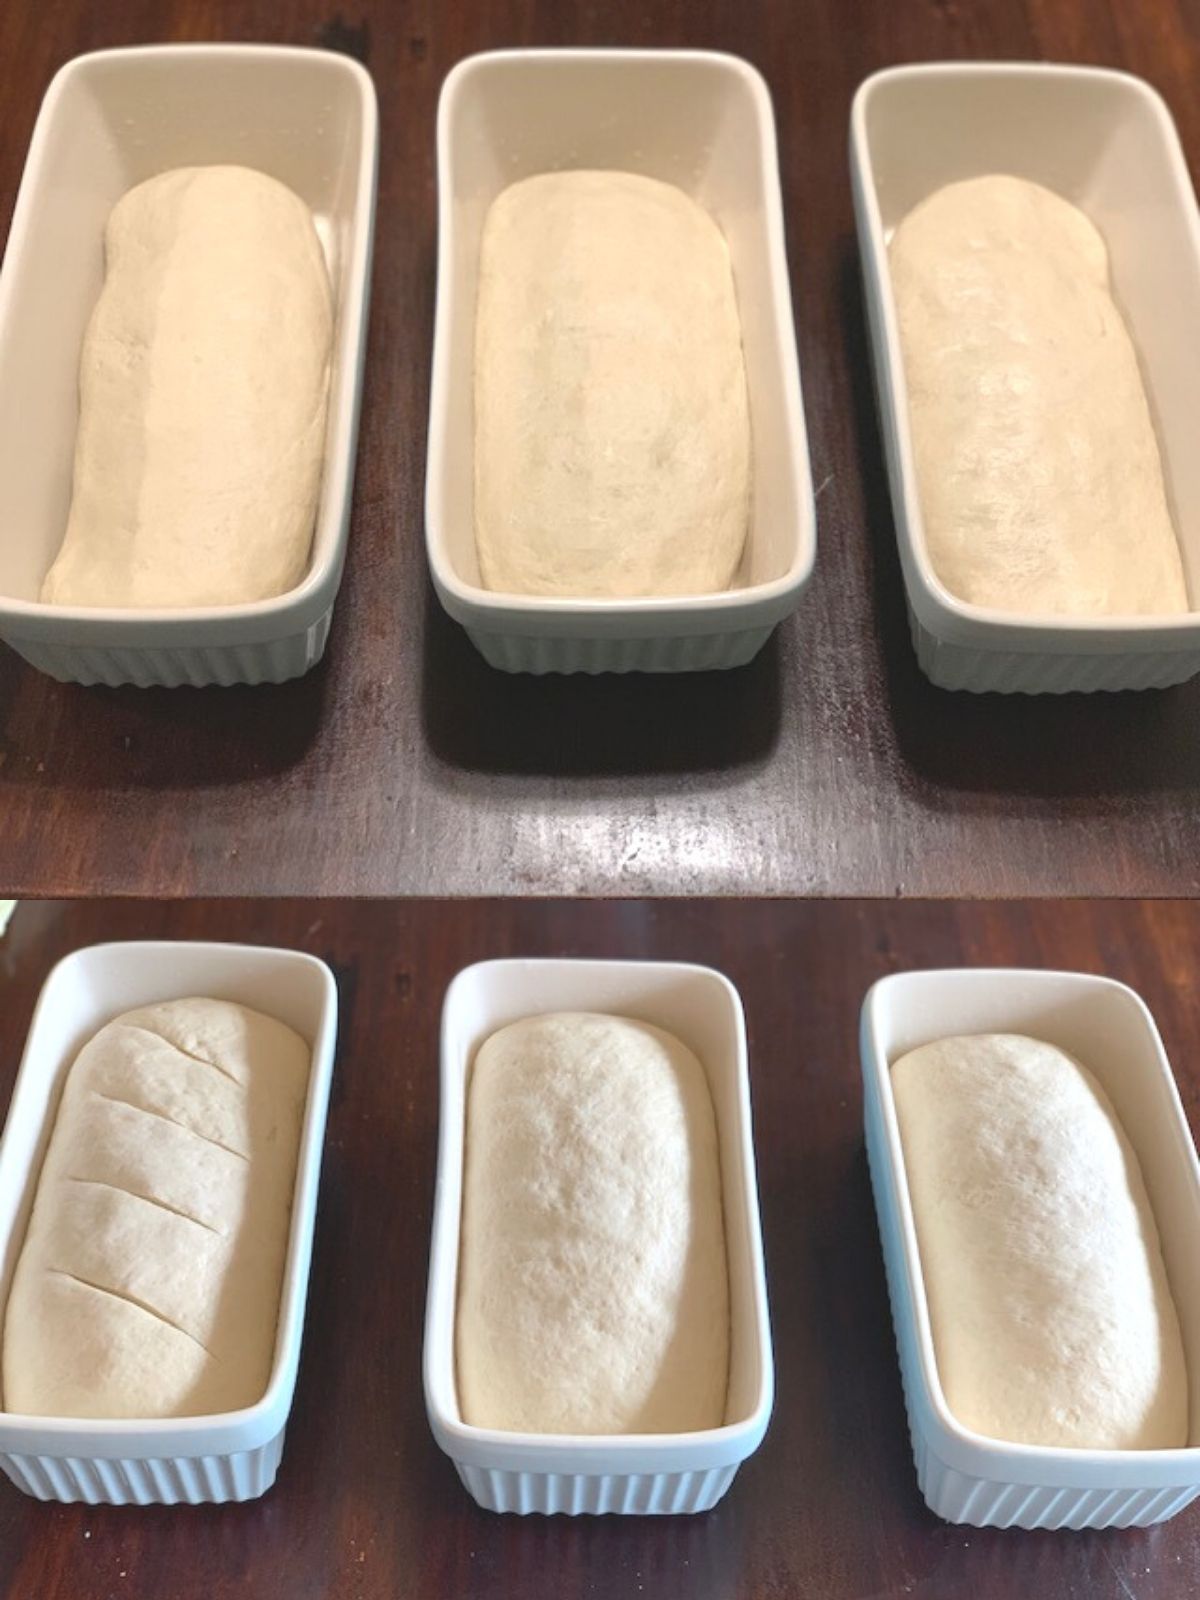
Note: If you mixed your dough in the morning and you’ve shaped before bed, stick your covered loaves in the fridge overnight. This slows the rise so that you can get a good night’s sleep without your dough overproving and going flat! Take them out of the fridge in the morning and let them rise 2-4 hours before baking (this will depend on how much, if any, they rose in the fridge).
After they’re done rising, it’s time to bake! After your bake is done, be sure to allow the bread to cool for at least 1-2 hours. The bread continues to cook inside while it’s cooling. If you slice too soon, not only will your bread fall apart, you might end up with a gooey, doughy center. Been there, done that. Very sad.
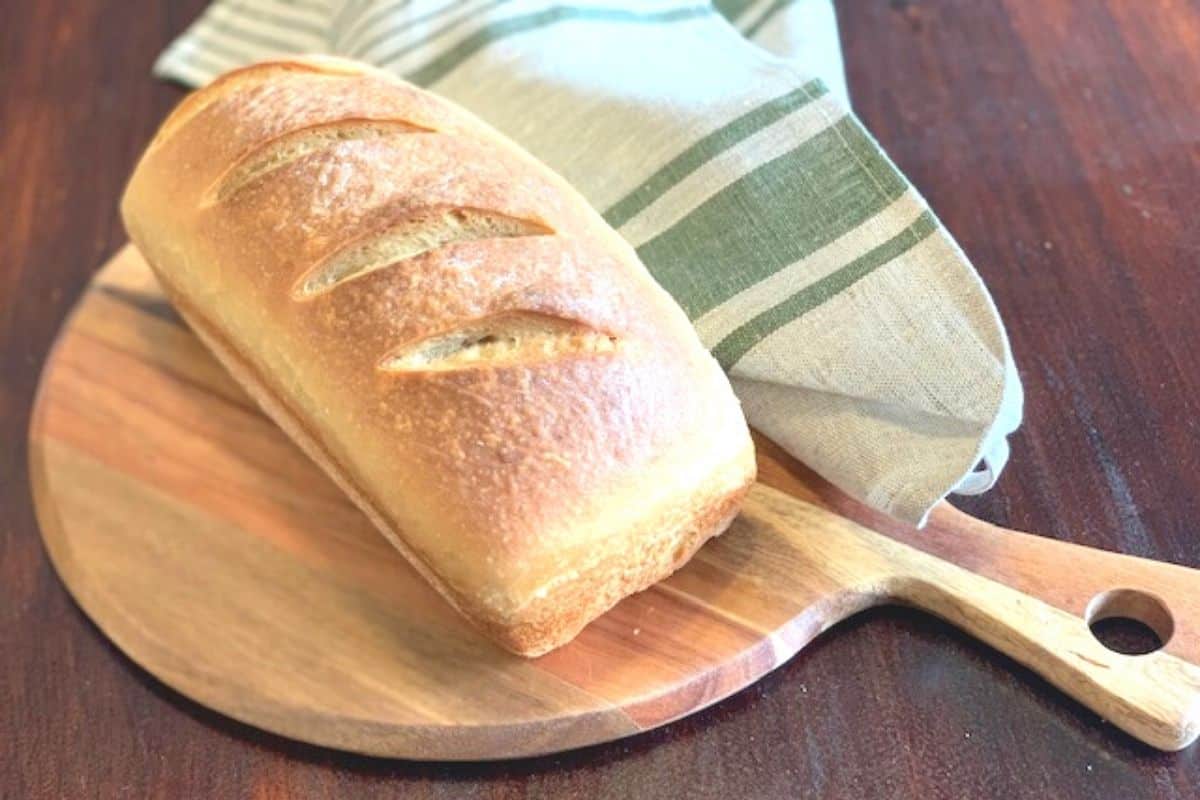
I usually freeze two loaves and keep one out to use. I find it stays fresh and soft for 3 days in my bread box. It stays edible for toast for days after that, even though it gets a little bit dry. That’s the beauty of sourdough – the good bacteria inhibits mold! Make a sandwich, some toast, or just enjoy with a little butter or homemade jam. Mmmmmm.
Recipe Variations
You can replace the honey in this recipe with granulated sugar. If you do this, be sure to increase your water by a couple of tablespoons.
I make this bread regularly, and have switched back and forth between using water and milk. In the winter, in particular, I use milk more regularly because it yields a softer texture.
In the summer I find I have more trouble working with the dough when I use milk so I tend to use water even though the final result isn’t quite as soft. The recipe calls for water, but you use the same amount of milk instead if you prefer.
Please note that if you use milk, the baking time can be reduced because of milk’s sugar content. I would say reduce baking time by at least five minutes.
Storage Tips
This bread stores very well for up to 3 months in the freezer. You can use traditional ziploc style freezer bags, but if you’re looking for a lower waste option you can use these bees wax wraps. You use the warmth in your hands to create a seal and it works beautifully. This keeps your bread fresh both in the freezer and on the counter.
I also find that using a bread box helps to keep the bread even fresher for longer. My bread starts getting dry out on the counter after only 2 days. It stretches to 3-4 days when I put it in the bread box!
Frequently Asked Questions:
What is farmhouse white bread?
A farmhouse loaf is a large loaf of bread that is baked in a tin and has a curved top. It’s usually a thick and hearty loaf that is more substantial than your typical sandwich bread.
How long does homemade bread last?
Ordinary homemade bread that is made with instant yeast instead of starter usually lasts 4-7 days before molding. I love using starter in my recipes, not just for the digestive benefits of fermentation, but because it prevents mold! It gets dry after a bit, but it can still be used for toast or made into breadcrumbs or croutons.
What type of flour should I use?
I use plain all-purpose flour, but you can experiment with using bread flour instead. Just remember that bread flour’s increased protein can result in a dough that’s more dry. You may need to add up to 20% extra liquid.
You can also experiment with combinations of white all-purpose flour and whole grain flours like whole wheat or einkorn. The thing to remember is that these flours, because they include the husk of the wheat berry, absorb more water. You will likely need to add more water (or milk) to get the right consistency in your dough.
What temperature water should I use?
If you’ve ever made homemade bread before, you probably are used to seeing instructions tell you to use warm water. The reason to use warm water is to speed up the action of instant yeast. The bread rises more quickly.
Because sourdough bread rises for a longer time, and because we want to get all the digestive benefits from a long fermentation, warm water is unnecessary.
It’s good to note, too, that when you’re using recipes with instant yeast, you can get better flavor if you use cool instead of warm water. It will take longer to rise, but the longer the rise, the deeper the flavor.
How To Get A Crispy Crust On Your Bread
The crust on this bread is fairly soft. If you prefer a crispy crust, you can get this by putting a shallow pan on the bottom of the oven. Pour a cup of boiling water in it at the beginning of the bake time.
The water creates moisture in the oven, which turns the surface of the dough into a sort of gel. As the bread bakes, this gel hardens and becomes that hard, crispy crust.
What equipment do I need?
Honestly, you need very little. You can bake this bread with just a mixing bowl, measuring cups and spoons, your hands, and some bread tins. Here’s a list of all the items you might like to use if you want to make the process a little less hands on:
- Commercial Stand Mixer (WAY optional)
- Large mixing bowl
- Wooden Spoon (optional)
- Measuring Cups & Spoons
- Rolling pin (optional)
- Bread Tins
- Pastry brush
Serving suggestions
I use this bread for just about everything. I serve it plain alongside soup, and I make PB&J and grilled cheese for the kiddos. It’s great as toast, and I’ve even made a larger loaf so I can use it for French Toast. It works for just about everything! And every time I make it, I enjoy a slice with some softened butter while it’s extra fresh.
Sourdough Farmhouse White Bread
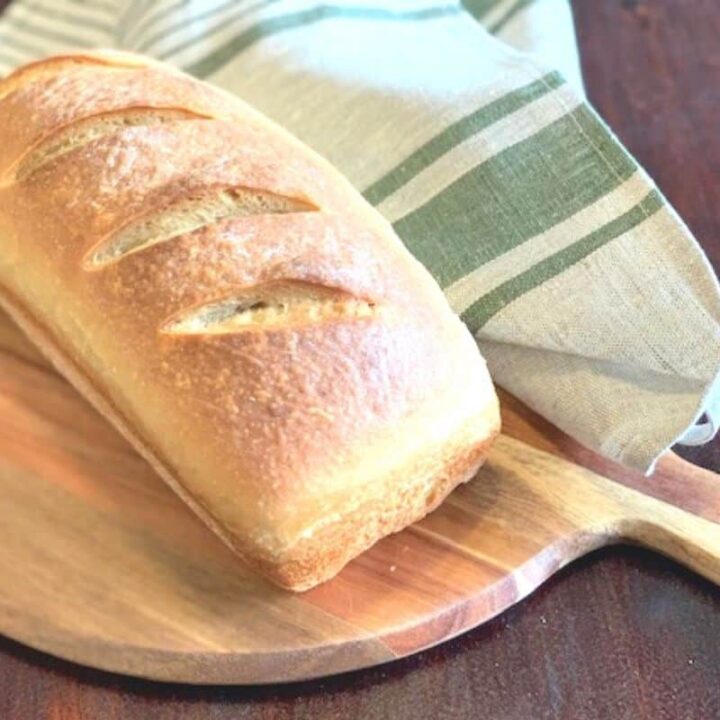
This soft sourdough farmhouse white bread is a perfect everyday loaf for toast, sandwiches, or just eaten plain with butter or jam!
Ingredients
- 1 cup mature, fed starter
- 2 3/4 c. water
- 3 Tbsp honey
- 1 Tbsp salt
- 6 Tbsp butter, cubed, room temperature
- 8 1/2 c. all-purpose flour
- 2 Tbsp butter, melted, for brushing (optional)
Instructions
- Mix starter, water, salt, honey, butter, and flour until dough forms a ball and doesn't adhere to the sides of the bowl.
- Knead by hand for 15 minutes or in a stand mixer for 10 minutes until dough passes window pane test. Stop the mixer periodically to check if the dough is ready.
- Place dough in large, lightly greased mixing bowl and cover securely with plastic food wrap or bees wax wrap. Let rise in room temperature for 8-12 hours until doubled in size.
- Divide dough into three equal parts. For each part, stretch or roll out dough into rectangle. The short side of the rectangle should be roughly 8 inches to fit in the loaf pan.
- Roll dough by folding the top corners in each time you roll downwards. Pinch seams on the ends and along the length of the loaf. Place the dough seam side down into a lightly greased 8-inch loaf pan.
- Cover loaf pans securely and allow loaves to rise in room temperature for 3-4 hours until doubled in size. (If your timeline doesn't allow for the second rise to take place immediately, place covered loaf pans in the refrigerator for up to 10 hours until you are 3-4 hours out from your baking time.)
- When loaf is fully risen, slash the top of the loaf 3 or 4 times at a 45-degree angle with a lightly greased sharp knife or razor blade. Gently brush loaf tops with half of the melted butter if desired.
- Bake at 400 °F until the loaves are golden brown. Remove from oven and brush last half of melted butter over the tops of the loaves if desired. Allow to cool 5 minutes in the loaf pan.
- Run a sharp knife around the outside of the loaves and invert them onto a cooling rack.
- Allow to cool for 1 to 2 hours before slicing to avoid an undercooked middle.
- Slice and enjoy!
Notes
If you would like to make two larger loaves instead of three smaller ones, use 9-inch loaf pans. Bake for 35 minutes and watch to make sure the top doesn't scorch. Consider moving your oven rack down slightly to get the bread further from the element. Let cool for 2.5 to 3 hours to ensure the inside is fully cooked.
You can replace the water in this recipe with milk for an even softer loaf. This can be done at any time of year, but it works best in the winter when the dough tends to be a bit stiffer and easier to work with.
Nutrition Information:
Yield: 36 Serving Size: 1 sliceAmount Per Serving: Calories: 135Total Fat: 2gSodium: 207mgCarbohydrates: 25gSugar: 1gProtein: 3g
Did you make this recipe? Leave a rating or a note in the comments to let me know how it went! Happy baking!


I just made this recipe and it is great! Instead of three loaves I shaped out one loaf and shaped out dinner rolls with the rest for a Sunday family get together. I let the rolls cool and am eating one currently and it is delicious! Thanks this is going to be my go to recipe!
I’m so glad you like it Valerie! Great idea to turn it into rolls. I’ll have to give that a try!!
I didn’t see the starter recipe. Can I get that please?
What would be the measurements for one loaf?
If you would like to make only one loaf I would recommend simply dividing all the ingredients in half for a single large loaf.
I made this dough but could not get it to rise even to double. The starter was active so I assume the dough was not warm enough. I ended up refrigerating it for 24 hours and using it to make pierogis a couple days later. It makes very good pierogis!
Hi Carolyn – I do find that my dough doesn’t rise as much during the winter as during the summer. At this time of year I usually turn my oven on at about 200 and let my dough sit on top so it has a warm place to rise. But the great thing is that you can usually find a good use for dough that doesn’t turn out the way you want. I’m so glad the perogies turned out well. 🙂