Easy, Delicious Cast Iron Mac and Cheese

Mac and Cheese was one of my favorite dinners growing up, and it’s one of my favorite comfort foods as an adult. When I discovered Cast Iron Mac and Cheese, I never went back to baking it in the casserole dish!
This recipe is rich and flavorful and crisp on the top and the outsides – thanks to the cast iron skillet! It is hands down one of my favorites, and my kids and husband always love it too.
(As an Amazon Associate I earn from qualifying purchases. This means that if you purchase an item via a link on my website I earn a small commission at no extra cost to you.)
Stovetop vs. Baked Mac and Cheese
Why bake the mac and cheese? Well honestly, you don’t have to. If you really like a creamy mac and cheese then this recipe works really well to eat without baking.
I prefer to bake it because the pasta holds together better after baking, and you get this gorgeous and glorious crust on the outside that is absolutely heavenly. It’s a little less creamy because some of the moisture comes out as it’s baked – but the extra depth of flavor is totally worth it.
If you want the mac and cheese to stay as creamy as possible but want that crusty top, you could try broiling it for 5 minutes instead.
If you choose not to bake it, I wouldn’t recommend using the cast iron skillet. Use a large saucepan instead. The main benefit to the skillet is how it crisps up all the edges and helps the mac and cheese to bake evenly. If you’re not baking, there’s no reason to have to clean cheese off your cast iron!
Recipe Method

This recipe calls for a roux-based sauce. Melt your butter in a pre-heated skillet and add the flour and spices. Stir with a whisk until the mixture is bubbly. Slowly add the milk.
It’s important to stir continuously after adding the milk so the mixture doesn’t get lumpy and unevenly cooked. Stir just until it begins to thicken. Don’t let it boil, and remove from the heat before adding the cheese.
If the sauce is too hot when you add the cheese, it can curdle and separate and create an unpleasant texture.
Add the cooked pasta after the cheese is incorporated, then sprinkle the rest of the cheese over the top.
I like to bake this with no crumb topping in the top 1/3 of the oven so that I get a nice crusty-cheesy top. If you prefer less crust, you can bake it in the middle of the oven instead. You can also add the optional crumb topping before baking if you like that extra crunch.
How to Serve
This mac and cheese is best when it’s fresh! Serve within 15 minutes of bringing it out of the oven for the best results. You can serve it directly from the skillet.
If you’re experienced with cooking with cast iron, I don’t need to tell you that the pans retain a lot of heat. Be very careful of the hot pan handle(s), and if you can’t trust your kids not to touch the pan, then keep it off the table at dinner time!
It’s a good idea to use a handle cover if you have one, or at least wrap a tea towel or pot holder around the pan if you will be keeping it on the table.
How to Store Leftovers
Don’t store your leftovers in the cast iron skillet! I made that mistake with a Shepherd’s Pie in my early cast iron cooking days and the skillet was extremely hard to clean and got a little rusty from the condensation. (If you have a rusty pan, check out my article on how to clean rust off cast iron.)
You can store your leftovers in an airtight container for up to five days. When it’s time to reheat, you can either microwave individual servings or put the macaroni in an oven safe bowl or dish and reheat at 350 until warmed through.
FAQ
Why bake this in a cast iron skillet?
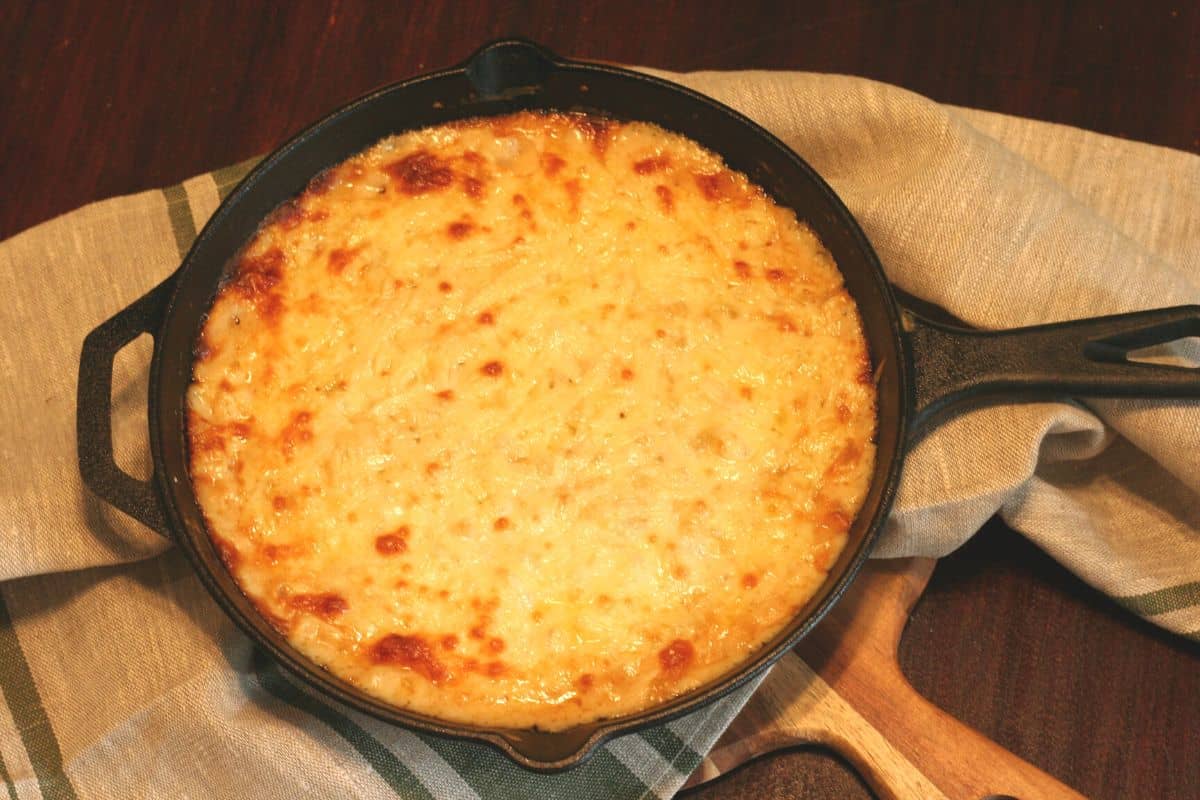
Cast iron is great because it heats evenly, retains heat well, and gives you easy stove-to-oven transition. It’s also the reason the outside of the casserole gets so golden and crispy.
Another great bonus: anything you cook in cast iron can be cooked over a fire when you’re out camping or living off the grid. Granted, you can’t bake it – but this recipe is delicious unbaked as well!
What cheeses work best for a delicious mac and cheese?
The first rule of thumb is to avoid using only mild-flavored cheeses, or your result will be bland – unless of course you’re adding other strong flavors like chilis or tomato sauce.
It’s important to think about the cheese everyone in the family loves. If your kids don’t like stronger flavors like blue cheese then you’ll probably want to steer clear of that.
A reliable approach is to experiment with combining a sharper cheese like blue, smoked gouda, or parmesan with a milder, creamy cheese like mozzarella or brie. I use sharp cheddar (usually Cabot Seriously Sharp) and mozzarella most of the time.
I have used parmesan instead of mozzarella as well. The flavor is really delicious, but the texture is a bit more dry and less creamy.
You can experiment with different moisture and fat contents to see what kind of texture and flavor you like the best.
The biggest rule of thumb here is avoiding the pre-shredded cheeses. Not only does it mess with your texture (much less smooth), it usually has added ingredients like cellulose powder to prevent clumping and inhibit mold. Fresh cheese is always best!
Another important thing to keep in mind is how you prepare the sauce. If you are not using a roux, then you may want to steer clear of harder cheeses because they won’t melt down as well.
What other flavors could I experiment with?
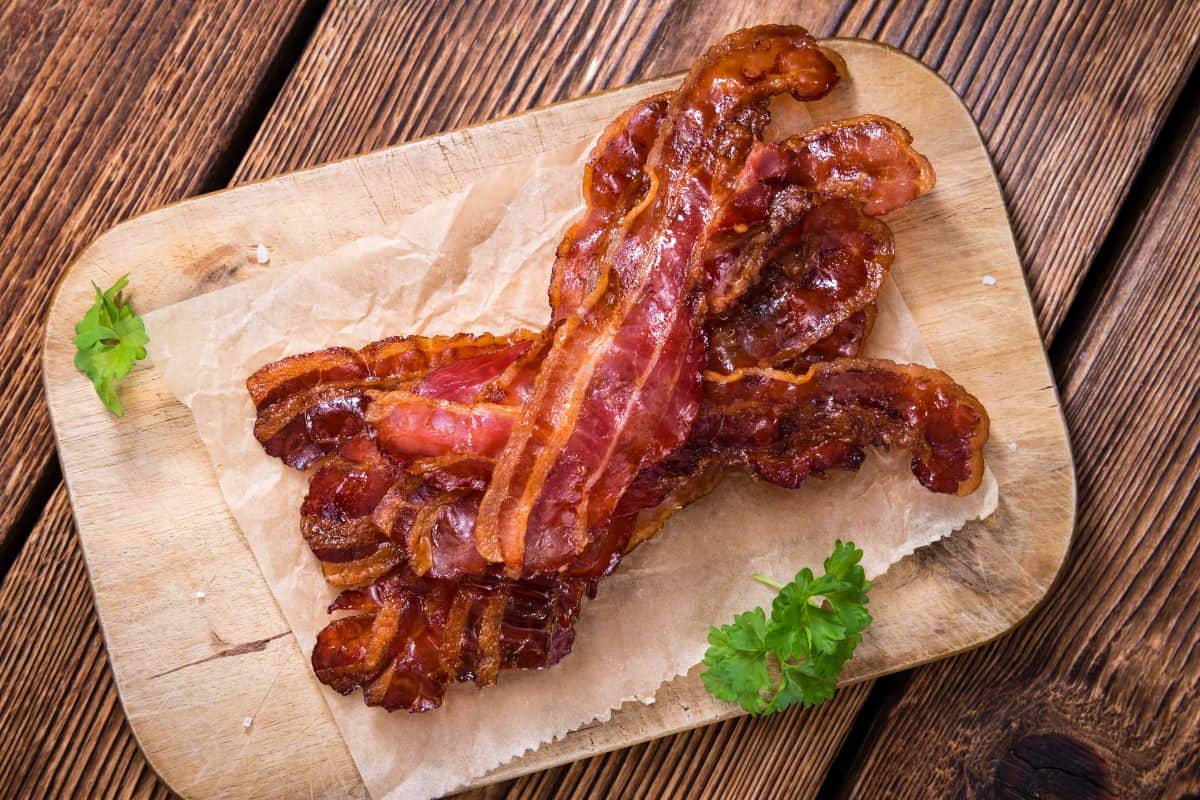
There are lots of things you can do, and you can use your imagination! Here are some ideas you can try:
- Top with bacon and caramelized onions.
- Lobster Mac and Cheese – if you want to get real fancypants, you could consider adding chunks of fresh lobster. 🙂
- Add some lightly steamed broccoli before baking to incorporate some veggies.
- Add 8 oz. of shredded cooked chicken for a protein-dense casserole.
- Mac and Cheese Stuffed Peppers – add 1/2 pound browned ground beef and bake inside bell peppers.
- Caprese Mac and Cheese – top with pesto and tomato slices before baking
- Mexican Mac and Cheese – Add a drained 4-oz can of mild green chiles and 2 Tbsp mild salsa before baking.
- Tuna Melt Mac and Cheese – tone down the sharpness by replacing 4 oz. of cheddar with 4 oz. more of mozzarella or gruyere. You could also swap out a milder cheddar – and add two 5 oz cans of drained tuna to the macaroni before baking.
- Spicy Mac and Cheese – replace spices with 1 tsp chili powder and 1/2 tsp red pepper flakes. If desired, you can also drizzle with hot sauce before serving.
- Pizza Mac and Cheese – replace spices with 1 tsp Italian seasoning. Replace 1 c. of milk with 1 c. tomato sauce. Reduce cheddar to 4 oz. and add 4 oz. more of mozzarella cheese. Serve with Pepperoni slices on the top.
What is the best way to cook the pasta?
Usually pasta packages give you a range of time for cooking. For folks who prefer “al dente” (Italian for “to the tooth,” it means that there’s still some chew left in the pasta) should stay on the side of less time.
If, for example, the package says you should cook the pasta for 11-13 minutes, I always cook for 11 minutes only to make sure it doesn’t get mushy.
But when you make mac and cheese, the noodles hang out in the sauce for a long time after cooking on their own. That causes them to take in even more moisture, which can make them soggy if you cook them too much in the first place.
I recommend cooking the pasta for one less minute than the package directions. For example, if the package recommends 9-11 minutes, cook for 8 minutes. This will ensure that your macaroni is still “al dente” after it has been baked in the sauce.
If you prefer a softer noodle, then you don’t need to worry about cooking them for a shorter time than the package directions.
What is a Roux?
A roux is a mixture of flour and fat (usually equal portions of each) mixed together in order to thicken and bind sauces, soups, or casseroles. It helps to incorporate fatty ingredients like cream or cheese.
Starting with a roux, while not necessary, helps keep the sauce from becoming soupy and wet. It also helps to integrate melted cheese more smoothly. Without the roux, it would be more difficult to incorporate harder cheeses like parmesan, pecorino, or romano.
The roux-based sauce is also one of the reasons that this mac and cheese works so well unbaked. The sauce is so smooth and creamy that those who prefer a creamier sauce will absolutely love it.
What type of pasta should I use?
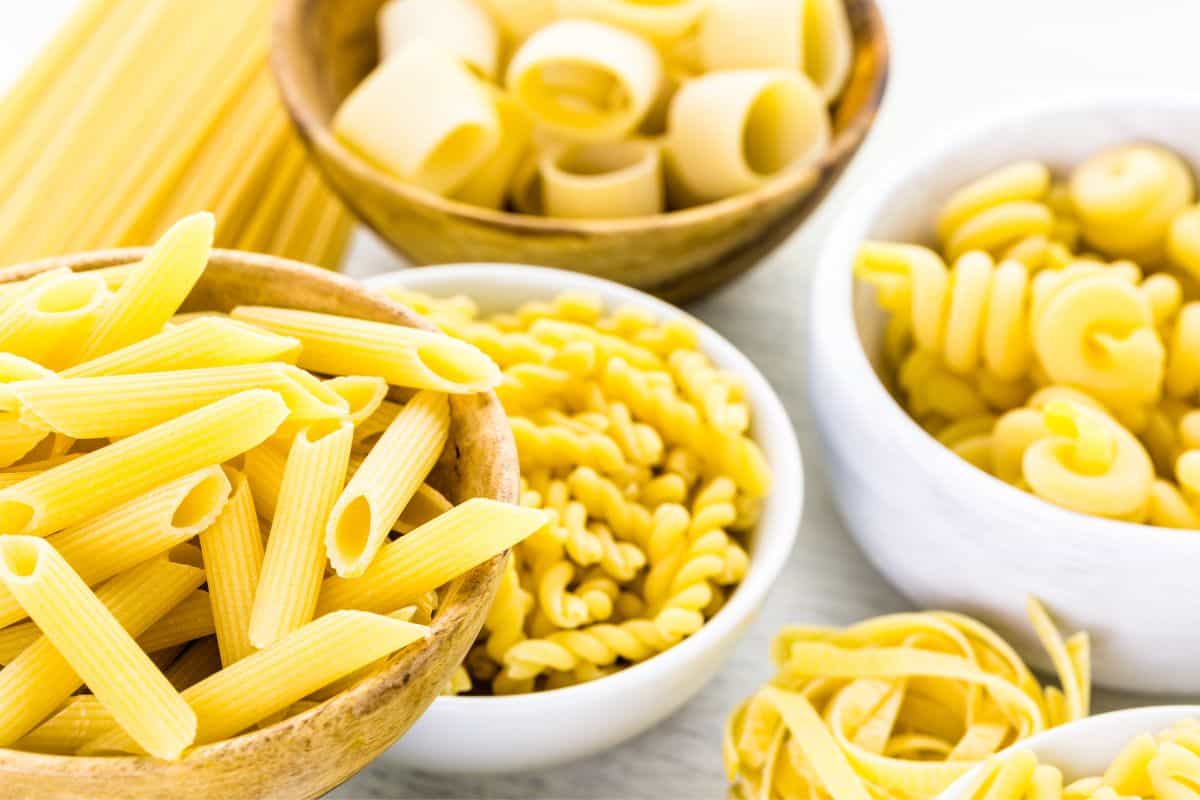
You really can use any kind of pasta for mac and cheese. Whatever you enjoy the most. This recipe calls for elbows, which is probably the most commonly used variety.
“Macaroni” is technically any kind of short, cylindrical pasta. So you could stay inside the technical definition by also using ziti, penne, fusilli, or rotini. Even so, many people love using shells – big or small – for mac and cheese. Another favorite in our family – farfalle! The kids call it “bow tie pasta.”
The only variety I feel wouldn’t be optimal to use would be a spaghetti, fettuccine, vermicelli or linguine. I’ve never tried, but because they’re basically long strings, they don’t have as much surface area to hang onto sauce.
This is one of the reasons why I prefer a hollow or spiral noodle – lots of spaces for sauce to get cozy.
Can you cook cheese in a cast iron skillet?
While you may hear from many people that this is a bad idea, a girl who’s selling you on the virtues of cast iron-baked mac and cheese is not going to tell you that.
I can’t claim that cleaning cheese off a cast iron skillet is as easy as wiping excess bacon grease from it. It obviously is not. But there are a few tricks you can use that make all that cheese come off without damaging the seasoning.
First and foremost, make sure your pan is well seasoned. That will help prevent the cheese from sticking badly in the first place.
You can use a mixture of coarse sea salt and water as a scrub to loosen any stuck on bits. If that doesn’t get it all off, you can boil some water in the skillet in order to loosen all the extra cheese and scrape it gently off.
I use a special scraper for the stuck on bits, and it works great.
Is there anything you can’t cook in cast iron?
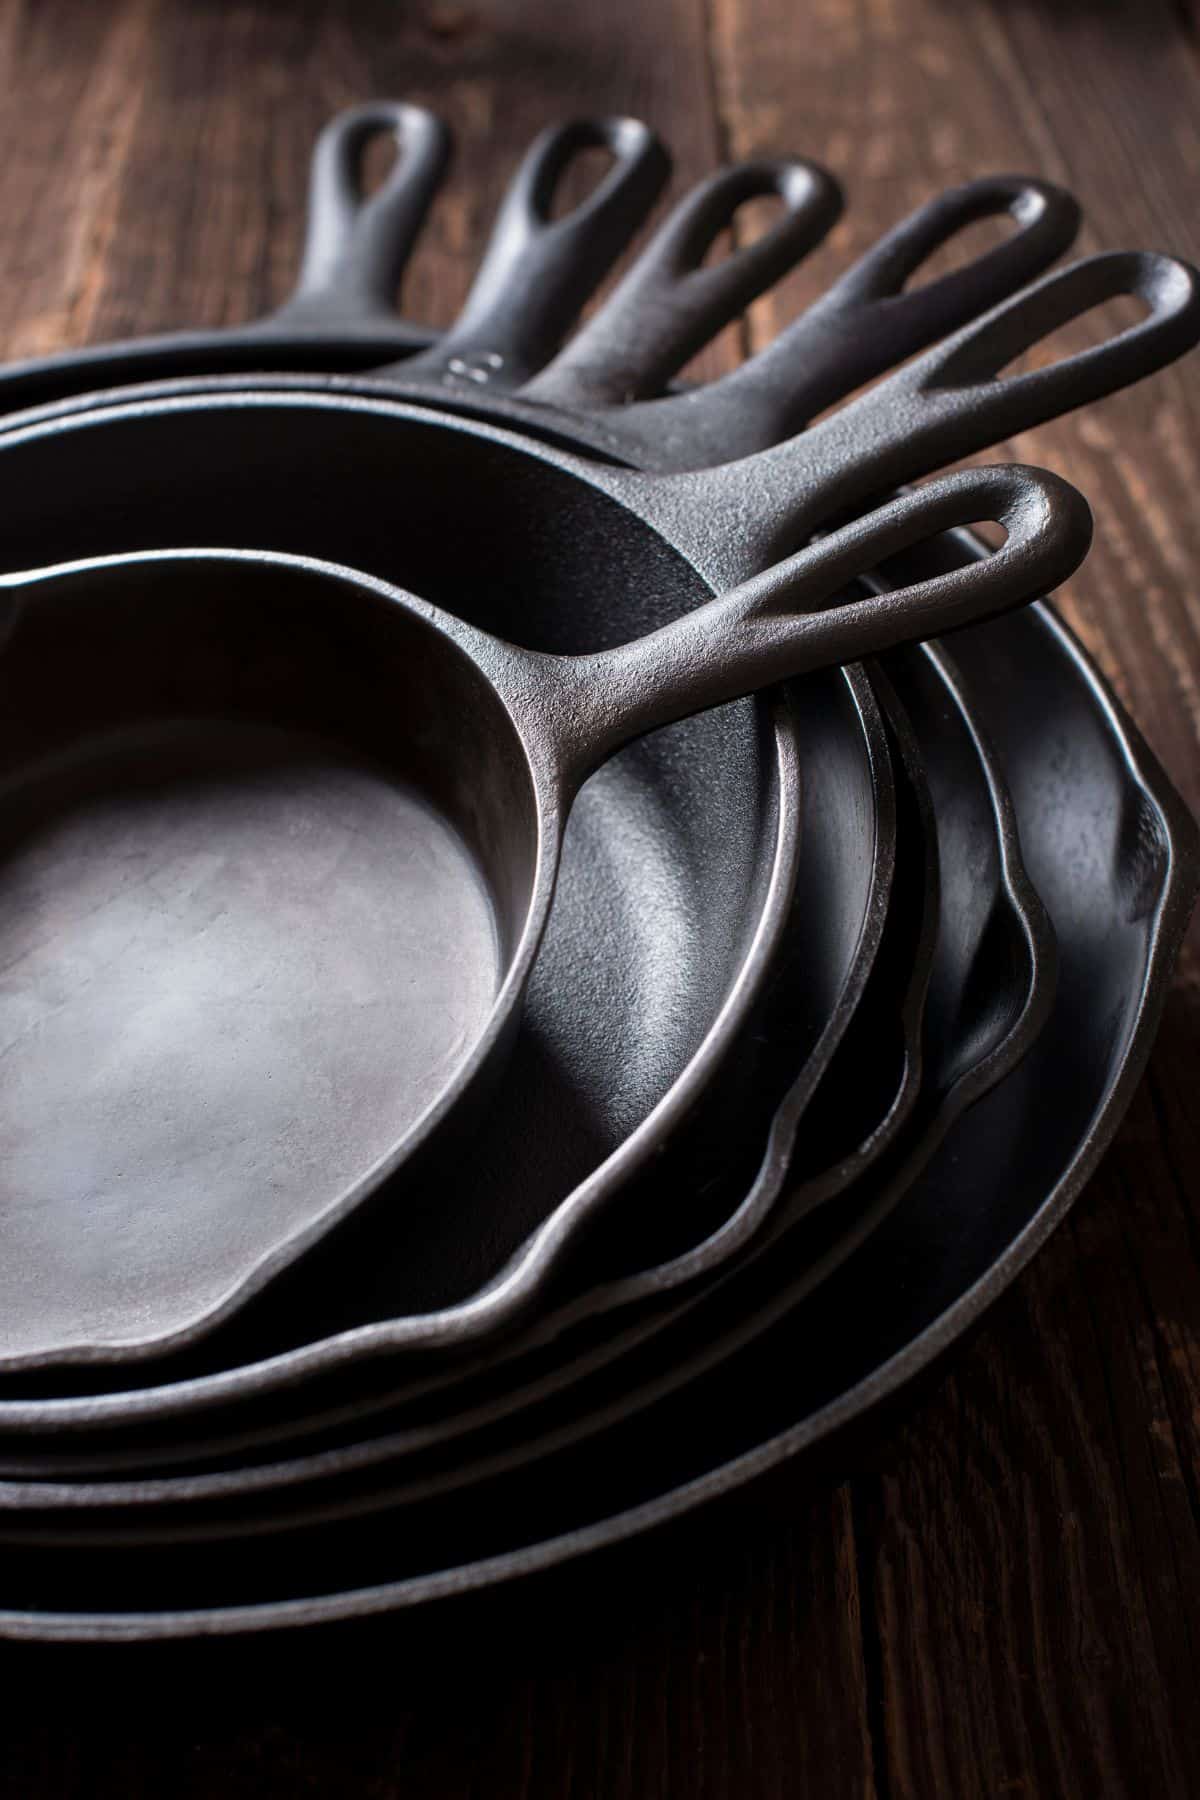
Technically there are five things people say you shouldn’t cook in cast iron. Let’s take a look:
- Tomatoes
- Other highly acidic foods
- Delicate Fish
- Eggs
- Sticky Desserts
So why shouldn’t you cook them in cast iron? Let’s start with the tomatoes. Tomatoes are highly acidic, and the danger to cooking highly acidic foods in cast iron is that they can break down your seasoning.
The other three things – delicate fish, eggs, and sticky desserts – are not recommended because they tend to stick to the pan.
I basically ignore all these parameters. While I wouldn’t recommend frequently cooking highly acidic foods in your cast iron, any breakdown in your seasoning can be quickly recovered by cooking a higher-fat dish.
If I cook something with tomato, I just make sure my next dish is a higher fat one (like bacon!) and move on.
Fish are not my favorite so I can’t claim to have had experience with all of the delicate fish. But, I have cooked Tilapia in cast iron and I found that when I put enough butter in the preheated pan and waited long enough to flip it, I didn’t have any sticking.
The trick is to make sure the pan is well seasoned, preheat it, put plenty of fat on it before cooking the fish, and for sure wait to flip until it’s fully cooked on that side. Again, I can’t claim that this will work with every delicate fish out there – but it worked for me with Tilapia!
I have also found that there are ways to cook eggs in cast iron without them sticking. Sticky desserts will be sticky (duh) – but if your pan is well seasoned and oiled and you have some coarse salt and a scrubber – that pan will come clean again with no problem. 🙂
Should you put eggs in mac and cheese?
I think this recipe is delicious without the egg, but it can make the recipe smoother and creamier.
If you’d like to try to add egg, I’d recommend weighing the egg you want to use and using that much less liquid (your half and half or milk).
Why is my cheese sauce gritty?
A gritty texture can happen if your cheese is added to the milk mixture when it is too hot. That’s why I recommend removing your thickened sauce from the heat before adding the cheese.
It’s especially important not to add the cheese if the sauce is bubbling. This will cause the cheese to curdle and break down and result in a gritty texture.

The Best Cast Iron Mac and Cheese
This delicious cast iron mac and cheese recipe makes up quickly and bakes to a perfect golden, crusty finish. The sauce is beautifully creamy and has a sharp, smoky flavor.
Ingredients
- 2.5 c. elbows
- 1/4 c. butter
- 1/4 c flour
- 1/2 tsp mustard
- 1/2 tsp smoked paprika
- 1/4 tsp salt
- 2 c. whole milk
- 8 oz sharp cheddar cheese, shredded
- 4 oz. mozzarella cheese, shredded
- Optional Topping:
- 1/3 c. panko bread crumbs w/ 1 Tbsp melted Butter
Instructions
- Put three quarts of water with 2 tsp salt in a pot and bring to a boil.
- Boil pasta according to package directions - for "al dente" in final result, boil one minute short of shortest suggested cook time.
- Drain pasta.
- Move a rack to the top 1/3 of the oven and preheat to 350 degrees fahrenheit.
- Preheat a 10-inch cast iron skillet over medium heat.
- Melt 1/4 c. (1/2 stick) butter. Add 1/4 c. flour and the paprika, salt, and mustard. Stir with wooden spoon until a smooth paste forms.
- Slowly add milk while and switch to stirring with a whisk. Whisk until all lumps are gone and mixture is smooth. Switch back to a wooden spoon and continue to stir until the mixture just begins to thicken, 2-4 minutes. Remove from heat before it starts to bubble.
- Add freshly grated cheese, keeping aside about 4 oz. of cheese mixture for the topping (unless you want a crumb topping). Stir until cheese is incorporated.
- Add cooked pasta to cheese sauce and stir. Sprinkle remaining cheese over the top.
- If you want a crumb topping, stir all the cheese into the sauce rather than keeping some aside. To add the crumb topping, mix 1/3 c. panko bread crumbs with 1 Tbsp melted butter and sprinkle it over the top before baking.
- Bake at 350 for 20-25 minutes, or until the top is golden brown.
- Serve and Enjoy!
Notes
This recipe calls for 2.5 cups of uncooked elbows noodles. There is enough sauce to make this recipe with 3 cups of dry noodles instead if you prefer a slightly less saucy result.
Nutrition Information:
Serving Size: 1/6 of casseroleAmount Per Serving: Calories: 515Total Fat: 30gSodium: 482mgCarbohydrates: 39gSugar: 6g
I hope you enjoy this mac and cheese as much as we do! Please leave a review or a note in the comments to let me know how it went. Yay Cast Iron!


