Soft, Chewy Brown Butter Ginger Sourdough Cookies

These Ginger Sourdough Cookies are hands down my favorite cookie to eat. They’re crispy on the outside and melt-in-your-mouth chewy on the inside. The flavor is so rich and the texture is perfect.
I always make them at Christmas, but I will occasionally break out the recipe during the year too because they’re just that delicious!
(As an Amazon Associate I earn from qualifying purchases. This means that if you purchase an item via a link on my website I earn a small commission at no extra cost to you.)
Why sourdough?
I always love an opportunity to use extra discard I have on hand. Whenever I can convert a traditional baked good recipe to sourdough, I do it!
For these ginger sourdough cookies, the sourdough doesn’t really do much to the flavor. It can give a subtle tang to some cookie recipes, especially if you use discard that’s very inactive.
This recipe, however, has so much flavor going on with the browned butter and the different spices that the sourdough doesn’t really have much impact. It does, however, provide some health benefits.
Should I use active starter or discard?

You can do it either way, although I have discard starter listed in the recipe because I like to save my active starter for bread recipes that need the active yeast for the rise. This recipe uses baking soda, so you don’t need the starter to help the cookie rise.
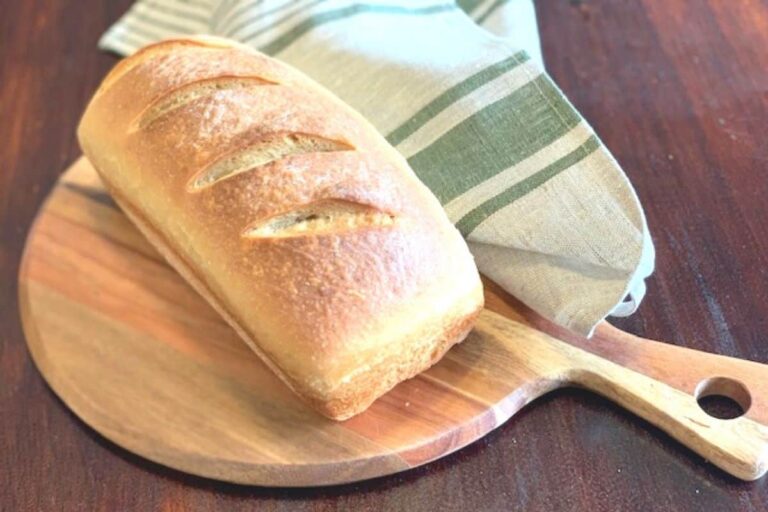
Check out my post on Sourdough Sandwich Bread for a recipe that uses active starter!
When you use discard you’ll usually have a stronger sour flavor (if the recipe doesn’t have stronger competing flavors). When you use an active, bubbly starter you’ll get less depth of flavor but you’ll also get a little extra rise, even if your recipe calls for another leavening agent.
I like these ginger sourdough cookies to be nice and chewy. Because an active starter will give your cookies a bit more rise, it can actually make the texture slightly more open and cakey. If you like that texture, you may want to use an active starter – otherwise, stick with discard.
Are these cookies good for you?
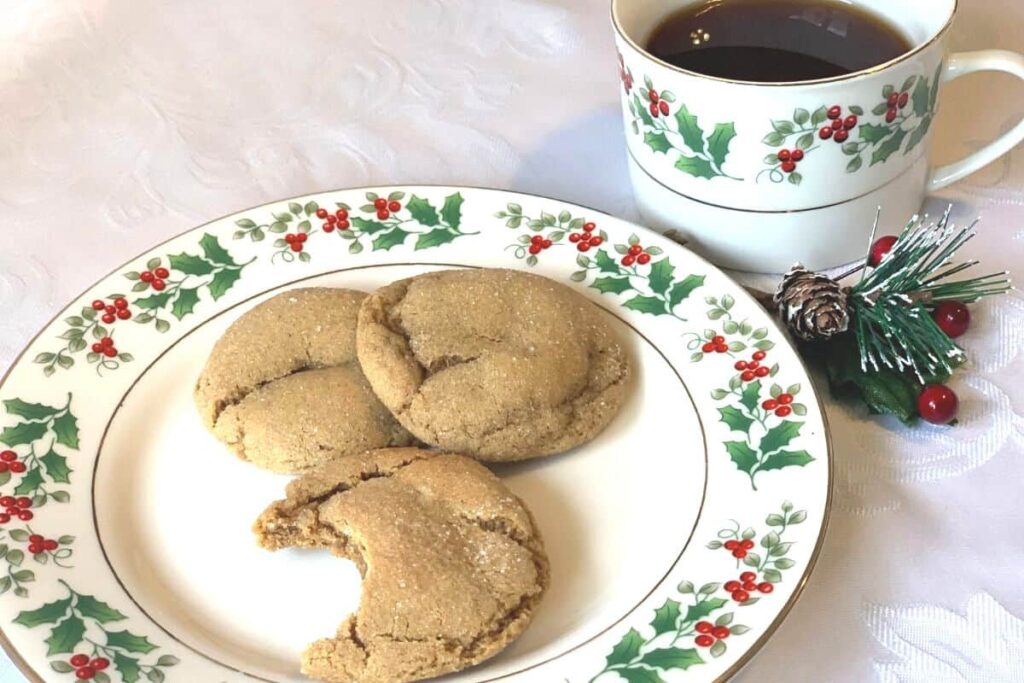
I’d love to say that these cookies are super healthy. Sourdough has great health benefits, but this recipe is too full of sugar for me to call it a health food!
As for the health benefits sourdough does have – if you let the dough sit for the full 24 hours, it will do some fermentation work on the sugar and flour, which has been shown to reduce the glycemic index and gluten content in food. Fermentation also increases the digestibility and nutrient bioavailability, which allows you to benefit fully from any nutrients that we can find in this recipe!
Molasses is also more nutritious than refined sugar. Molasses is the liquid left when sugarcane is boiled and the sugar crystals are separated, and it actually holds most of the nutritional benefits of the plant.
This recipe calls for mild molasses, but if you like a darker flavor and want greater health benefits, try using blackstrap. Blackstrap molasses has been boiled down even more and is more loaded with calcium, iron, magnesium, selenium, potassium, and vitamin B6 – nutrients that are altogether missing from refined sugar.
Lastly, ginger is rich in antioxidants, and it can help regulate blood sugar and lower cholesterol.
While my theory is that the benefits of ginger are somewhat outweighed by the loads of sugar in a ginger ale soda, there’s a reason Grandma used to give you ginger ale when you have a stomach ache. It has been known to settle upset stomachs and improve digestion!
So if nothing else, we can say that these cookies will be more digestible than your average cookie!
How do you brown butter?
OK so I pretty much have come to believe that any baked good that calls for butter would be better with brown butter. The rich, nutty flavor brings a new depth to whatever flavors you’re working with, and I love it!
To brown butter, melt butter on the stovetop on medium heat. (It helps to use a light colored pan if you have one to see more clearly when the butter is finished.) Once the butter has melted it will begin to foam – turn the heat down to low.
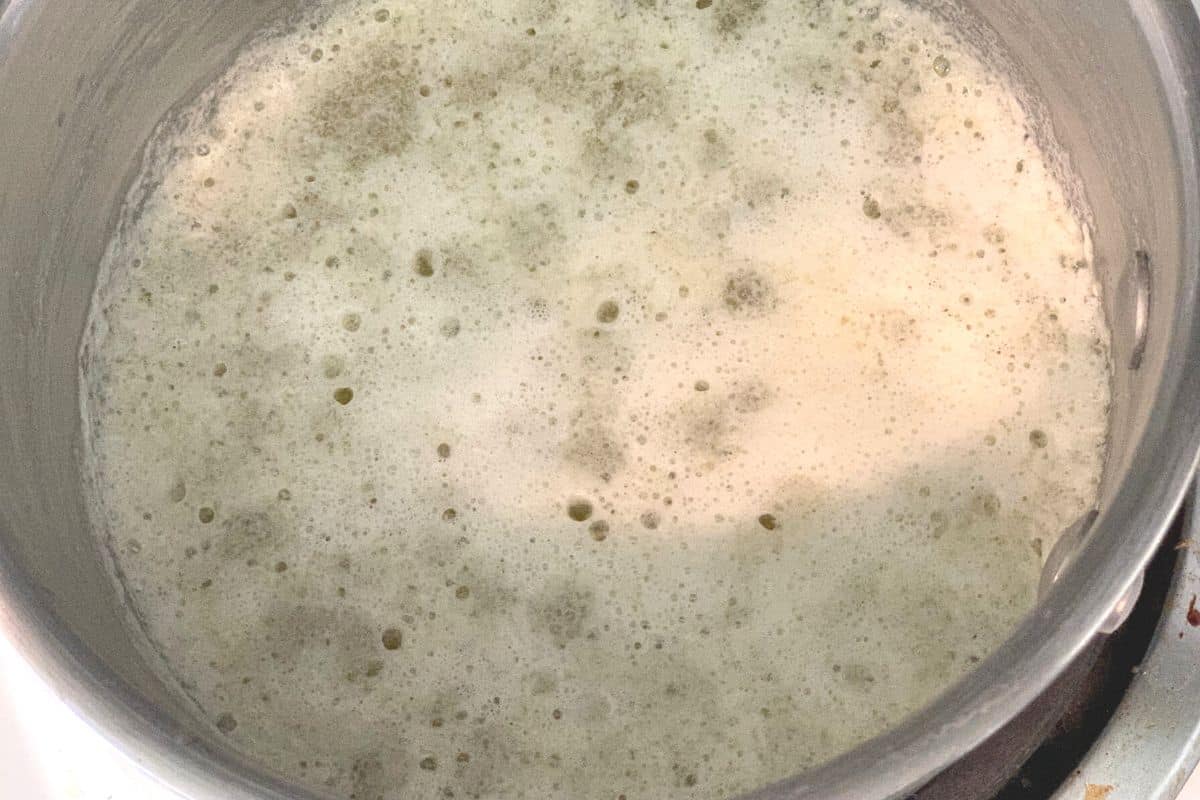
Start stirring when the butter begins to foam, and don’t stop until you remove the butter from the heat. Once the foam subsides, the butter is almost done. This should take between 5 and 10 minutes, depending on how much butter you’re browning at a time.

Be careful here, the line between perfectly browned butter and burnt butter is pretty thin – and burnt butter does not taste nice.
When the foam subsides you should see the butter solids have turned brown and fallen to the bottom of the pan. The color of the butter itself should be a nice deep gold. Remove from the heat immediately so the butter doesn’t burn, and pour into a heat-proof bowl.
For recipes that call for melted butter, you can use it as soon as it cools. For this cookie recipe, however, you will want to put the butter in the fridge until it gets solid again. You can also leave it out on the counter if your house isn’t too warm. It will eventually solidify but it will take longer.
If you use melted butter in this recipe, the cookies will spread and will be more crispy than soft and chewy. That wasn’t my goal but if you like that in a cookie, more power to you – go ahead and try it!
Supplies Needed:
- Mixing Bowls
- Rubber spatula – great for wiping down the sides of the bowl as you mix.
- Flour Sifter – optional. You can use any old strainer!
- Electric Hand Mixer or Stand Mixer
- Measuring Cups and Spoons
- Small Saucepan
- Wooden Spoon
- Baking Sheets
- Parchment Paper
Baking Notes and Instructions
The first thing you’ll want to do is brown your butter. The recipe calls for 3/4 cup browned butter. Some of the butter will evaporate during the browning process, so if you start with exactly 3/4 cup, you will have slightly less solid butter at the end of the process. That’s ok, that’s exactly what I did, and they turned out great.
Mix the flour, spices, salt, and baking soda in a bowl and set aside.
Make sure the butter has solidified again before using. You can use it cold, but it’s easier to incorporate if it’s room temperature. Cream butter and sugars together, then add remaining wet ingredients, including the sourdough starter and orange zest, and mix thoroughly.
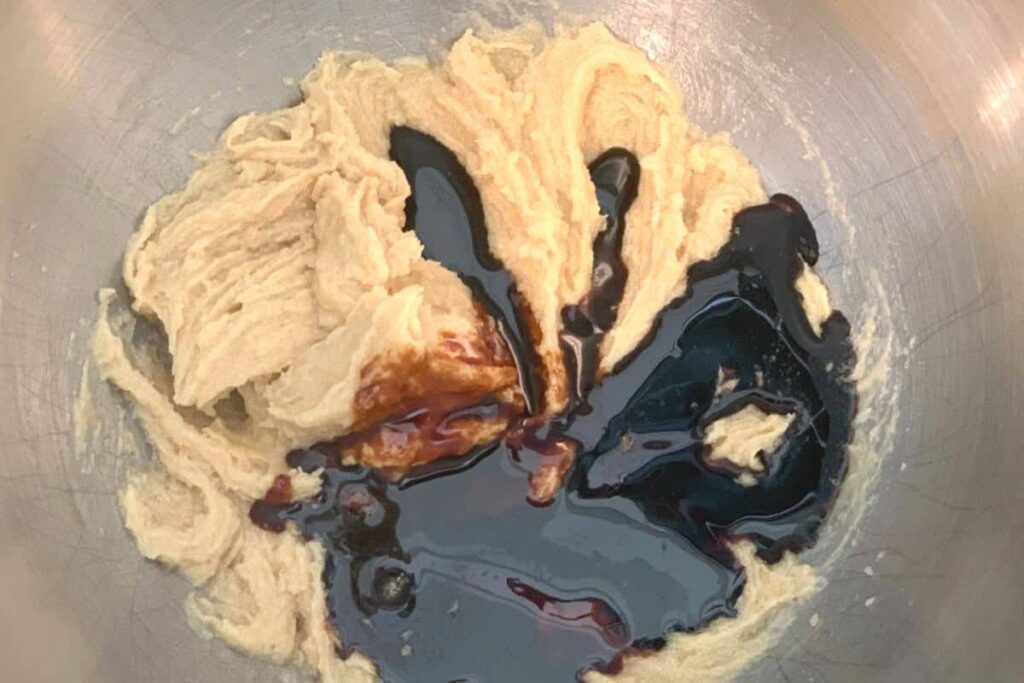
Add dry ingredients in halves and mix after each addition. Make sure all flour is completely incorporated, but don’t overmix.
The dough will look pretty wet when you’re finished – and that’s exactly right. You NEED to chill this dough for at least an hour before baking. But you can chill it for up to a day, and I like to do that in order to let the dough ferment for a bit longer so I get the digestive benefits.
Form the dough into 1 inch balls and roll in granulated sugar. Place on parchment paper on a baking sheet to prevent sticking and keep clean-up easy! Bake for 9-10 minutes in a 350 degree oven.

After the cookies have finished baking, leave them on the baking sheet for a good 3-5 minutes – they’ll continue cooking a bit and stiffen up. If you try to move them to a cooling rack immediately they will sag through the holes and your cookies will have a truly fascinating shape. Ask me how I know. 😉
After 5 minutes, go ahead and move them to the cooling rack to finish cooling.
Enjoy these cookies fresh within 5 days, or you can freeze them for up to 3 months.
Frequently Asked Questions:
How do I keep these cookies from spreading and crisping up?
If you follow the recipe the cookies shouldn’t spread that much and should have a chewy texture. However, you can look at a couple of different things.
First, make sure that your butter is completely solid and not still liquid from the browning. When a recipe is higher in liquids the cookie tends to spread more when it cooks.
Also make sure you use all the flour in the recipe. That can help absorb some of the extra liquid and keep it from spreading as much.
You might also look at the hydration of your starter. This recipe was calculated using a 100% hydration starter. This means that it uses equal parts flour and water by weight. In cup measurements that’s a scant cup of flour to 1/2 cup of water. If your starter has a higher water content then you may need to add flour to this recipe for the right texture.
Lastly, make sure that the dough is still cold when you put it in the oven. I find that I sometimes need to put the dough in the fridge for a few minutes again if the dough starts to soften while I’m baking. That usually only happens when I double the recipe, though!
Does sourdough make these cookies taste sour?
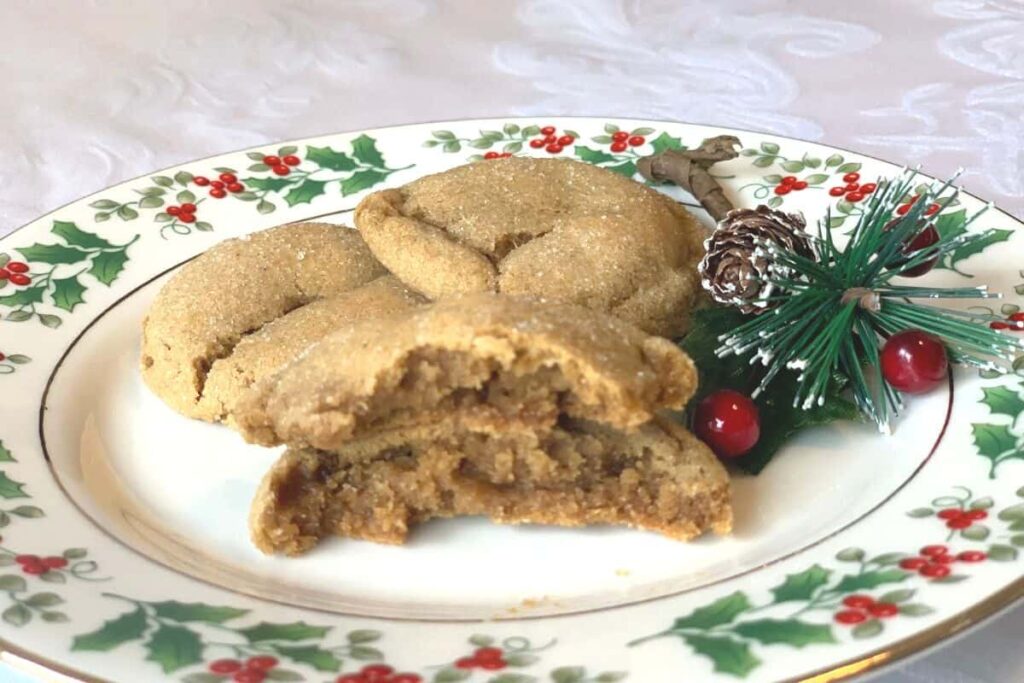
As I’ve already said, you can’t really taste the sourdough in these cookies because there are too many other strong competing flavors.
In general, though, while sourdough can add a little tang to a cookie’s flavor profile, the sugar content in most cookie recipes prevents them from tasting truly sour.
How should I store these cookies?
I just put them in a reusable ziploc bag and store them in our bread box on our counter. We’re not picky about misshapen cookies around our house. 🙂 They still taste amazing!
But, if you’re bringing them to an occasion or giving them to someone as a gift, it might be better to stack them in an airtight container with parchment paper between them to keep them from sticking together.
You can store them in the freezer either way stated above for about a month, but if you want to freeze them longer you probably want to wrap stacks of cookies tightly in plastic or beeswax wrap and then put them in a box or bag in the freezer. In other words, for longer freezing, double wrap them. You can store them this way for up to three months and they’ll thaw just fine.
Defrosting is as easy as taking them out of the freezer and setting them on the counter! It only takes a couple of hours for them to defrost completely and be their soft chewy selves again.
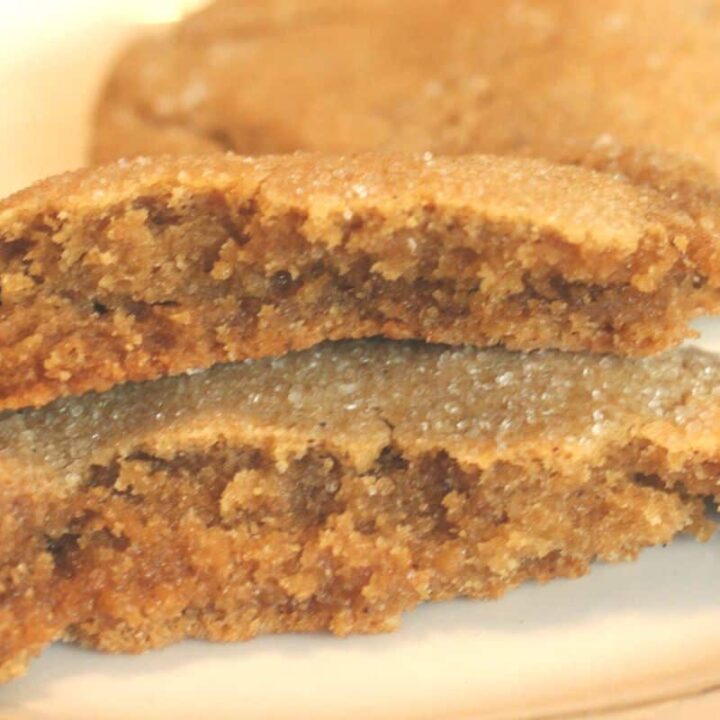
Soft, Chewy Ginger Sourdough Cookies
These soft Ginger Sourdough cookies have all the flavor you want in a holiday ginger cookie, and so much more. With crispy edges and a thick center that stays soft and chewy, they'll quickly become your favorite cookie - and not just during the holidays!
Ingredients
- 3/4 cup (1 1/2 sticks) unsalted butter, browned then re-solidified
- 2 1/2 cups all-purpose flour
- 2 and 1/2 teaspoons ground ginger
- 1 teaspoon ground cinnamon
- 1/4 teaspoon ground cloves
- 1/8 teaspoon ground nutmeg
- 1 teaspoon baking soda
- 1 teaspoon salt
- 3/4 cup granulated sugar
- 3/4 cup light brown sugar, packed
- 1 teaspoon vanilla extract
- 1 large egg
- 1/2 cup sourdough starter discard (100% hydration)
- 1/4 cup molasses (mild, not blackstrap)
- 1 teaspoon orange zest
Instructions
- Place 3/4 cup butter in a saucepan over medium heat. When butter has melted, reduce heat to low and let cook until browned.
- Allow butter to cool and re-solidify before using.
- Mix together sifted flour, spices, baking soda, and salt in a medium mixing bowl and set aside.
- Cream browned butter and sugars using a stand or hand mixer. Add egg, molasses, discard starter, vanilla, and orange zest and mix thoroughly.
- Add dry ingredients in two phases, mixing after each addition. Mix until just combined - do not overmix.
- Chill dough for at least 2 hours, or up to 24 hours.
- Preheat oven to 350 degrees.
- Put about 1/2 cup of sugar in a small bowl.
- Take out 2 Tablespoons worth of dough at a time and roll into a ball.
- Roll the ball in the granulated sugar and place on a parchment paper covered cookie sheet.
- Bake at 350 for 9-10 minutes or until cookies are golden brown and have puffed slightly.
- Let cookies cool for 4-5 minutes on the cookie sheet before transferring to a wire cooling rack to cool completely.
- Store for up to five days in an airtight container, or freeze for up to 3 months.
Notes
When you brown the butter it will evaporate some, so your final amount of butter will not be quite 3/4 cup. That's fine! After it melts let it cool and re-solidify before using.
Nutrition Information:
Yield: 24 Serving Size: 1 cookieAmount Per Serving: Calories: 167Total Fat: 6gSodium: 156mgProtein: 2g
Nutrition information isn't always accurate.
I hope you enjoy these cookies as much as we do! Leave a rating or a note in the comments to let me know how it went!! Happy baking.




Why preheat oven if 2 + hours are needed to chill dough?
Well spotted! I fixed it. 🙂 I hope the cookies turned out well for you!
Amazing cookies!! I didn’t have any orange zest but omg sooo good!!
Thank you Tracey – I’m so glad you enjoyed them!